| IAN GEMSON | |
Ian’s friendly and patient personality led him naturally into teaching. He has completed the Professional Anglers Association (PAA) level 2 coaching course organised by 1st4Sport which officially qualifies him as an angling coach. As a result of this accreditation Ian’s company, Smart Carping, is able to offer £ 5 million public liability insurance and has passed the CRB (Criminal Records Bureau) check. |

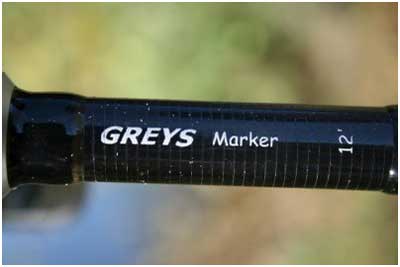
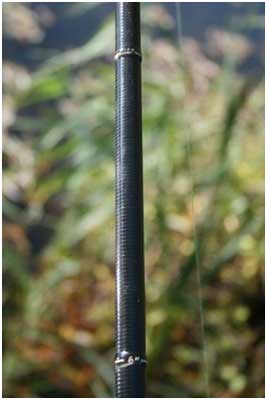
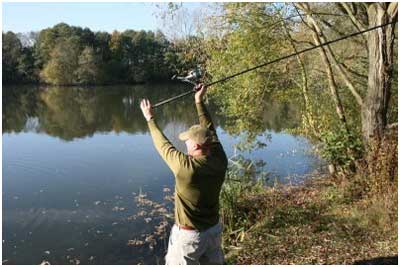
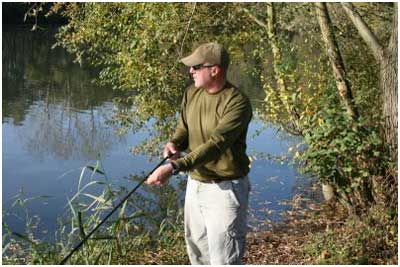
Feature finding with a marker floatNo two lakes are the same, indeed no two swims are the same. When we look at the lake we are intending to fish, all we can see is a flat sheet of water. Without knowing what we are about to cast into how can we understand what rig will be most effective for the conditions we are placing our rigs into? The best method of feature finding is with a marker float, braid and a dedicated rod that has been specially designed for the task. Rods I use a Greys Marker rod which is a 12′ rod with a 2.75lb test curve. This rod is designed specifically for use as a marker rod and has 6′ and 12′ marked graduations above the reel seat to allow accurate depth measurement.
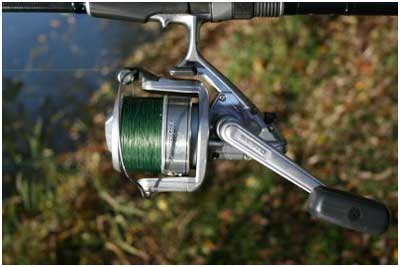
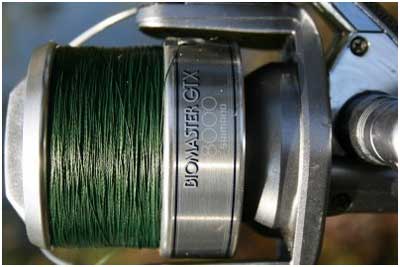
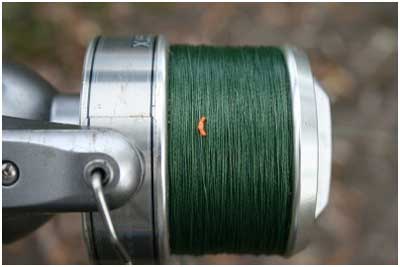
Reels The braid, having no stretch, will allow you to feel the nature of the lake bottom, be that the ‘rattle’ of a pebbles or the smooth drag of silt, the braid will transmit everything through to the tip of your rod.
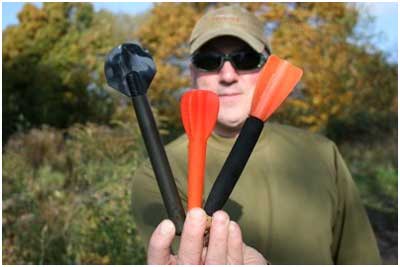
Leads
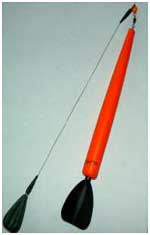
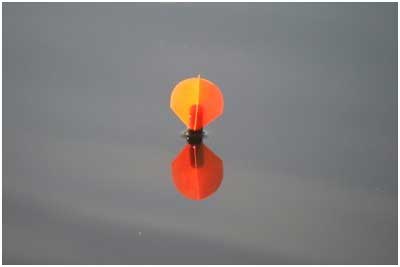
Floats
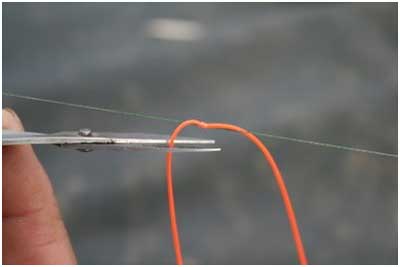
The Setup
How do you use a marker float?
Once the lead hits the surface of the water quickly flick over the bale-arm and wind up any slack so that you’re in direct contact with the lead and marker-float. Keeping the rod tip high, let the rod gently lower as the lead pulls the tip down. Feel the lead and marker-float dropping through the water, this is where a braid shock-leader and main-line is advisable. What can you feel? Touch-down Lead retrieval
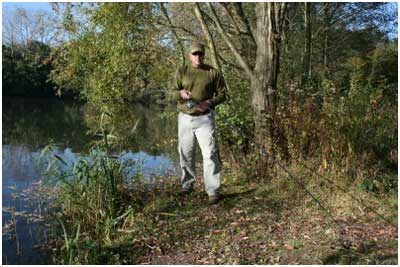
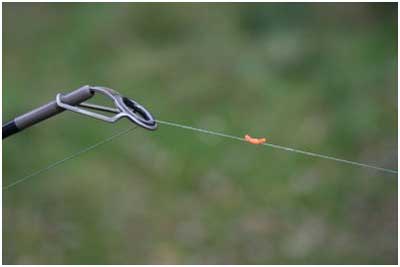
The feelings/vibrations that come up from the lead will give you an indication of what the lakebed consists of. For example, if you feel a constant knock, knock, knock, then you’re pulling the lead across gravel and the rod tip will bounce quite violently. If it feels like the lead is ‘sticking and skipping’ across the lakebed, then you’re pulling the lead across clay. If it feels like the lead is being pulled through ‘porridge’, then you’re pulling the lead through silt. If the lead starts to snag up and gets harder and harder to pull along, then you’re in weed; you can actually feel the strands of weed snapping as you do this. When you’ve found say gravel, you can then explore how long or wide it is by casting past it or either side of it using your points of reference on the far bank or horizon and by using a marker on your line.
Continue this process until you have a good idea of the underwater features you have in front of you. Log these features and depths in a book so that you can quickly fish to these features in future sessions. Marking the range
Master these simple techniques to ensure you get the best from your swim. With this knowledge you can ensure your rig is right for the type of lake bed and your bait is placed in the optimum position to ambush those hungry carp. And here it is in a video clip: Ian Gemson, Smart Carping More from Ian next week with ‘How to Spod’
|