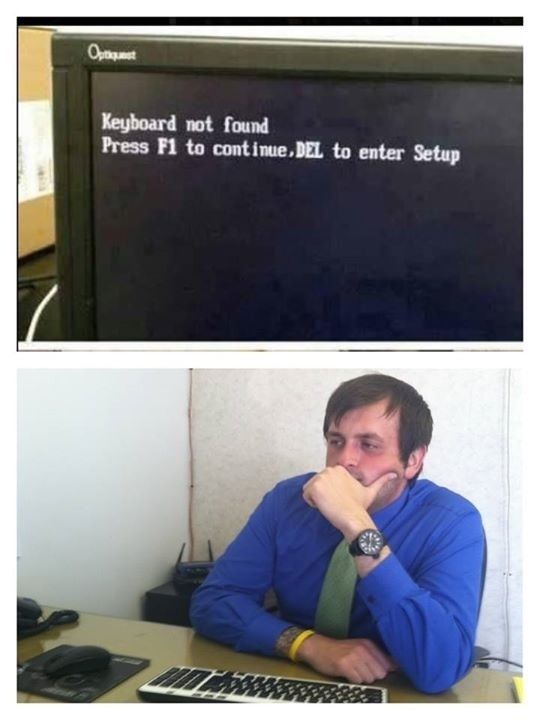
I, ve given up.

flightliner

Well-known member
Joined
Dec 2, 2009
Messages
7,594
Reaction score
2,761
Location
south yorkshire
Said this before on Fm that the uploading of a picture is so frustrating.
Tried just now for the umpteenth time without any luck to upload a nice action shot of a barbel.
Get right to the end but pressing the final button it turns out the pik is too large so gave up, aint no idea how to make it smaller.
Another site I use from time to time is dead simple--- ideal for someone who doesnt know what a URL or a JPG or any other such titles that leave me baffled.
Rant over !! :doh:
 

greenie62

Well-known member
Joined
Apr 25, 2014
Messages
3,433
Reaction score
3
Location
Wigan
Hi Flight,
Try this link and download the FREE software:
FastStone Photo Resizer - Powerful Image Converter/Resizer
It allows you to resize/rename photos by size, and resolution, and saves the output for you to mail or post to forums, leaving your original untouched - it'll even do a 'batch' at a time.
If you have any probs with it feel free to pm me.
Cheers:thumbs:
 
B

binka

Guest
Flighty...

If you're not already registered you could also try this site:

Photo and image hosting, free photo galleries, photo editing

It's dead easy to upload pictures, takes me about thirty seconds if that.

Just upload on to their site, click on the thumbnail image when it has loaded and appears (below left of the main image box which opens up an advert) and on the right of your screen there's a column of boxes...


Simply left click once on the bottom "IMG" box in the column, this will then copy the URL of the image location and then, when typing your post in FM, right click and select paste at the point in your forum post where you'd like it to appear.

Simples :)
 

robtherake

Well-known member
Joined
May 20, 2013
Messages
3,252
Reaction score
3
Location
North Yorkshire
I use the same site. If you can't manage with Photobucket you may as well give up: it's easy peasy :)

Pictures uploaded to Photobucket don't need to be resized beforehand, BTW.
 

flightliner

Well-known member
Joined
Dec 2, 2009
Messages
7,594
Reaction score
2,761
Location
south yorkshire
:thumbs::eek:Thanks all for the info, I, ll try them in order and if I, m lucky you might just see the odd pik or two.

---------- Post added at 16:46 ---------- Previous post was at 15:55 ----------

Greenie, sorry, downloaded faststone but got a simple "file wont open" message.
Binka, ditto, tried your download, put in req, d info but went to my file that I somehow managed to get one foto of some crowquill avons on some years ago-- couldnt find any other route to try,
I'm a lost cause
with pik insertions on FM, give up on me now and , I'll try and hitch a ride back on the first oxecart to yesteryear.:eek:mg::doh:
 

john step

Well-known member
Joined
Oct 17, 2011
Messages
7,006
Reaction score
3,994
Location
There
It is good to know I am not the only dinosaur :eek:mg:
 

flightliner

Well-known member
Joined
Dec 2, 2009
Messages
7,594
Reaction score
2,761
Location
south yorkshire
I, ve just tried again for the umpteenth time and its a no no, very frustrating as it would be nice to put the odd pik up from time to time.
Mods, any chance the techies could make things easier for guys like me? big ask I know but if its so easy for me elsewhere then why not here ?.
 

robtherake

Well-known member
Joined
May 20, 2013
Messages
3,252
Reaction score
3
Location
North Yorkshire
I can't understand what you might be getting wrong.

What format are your photos in? They're usually jpeg, but it depends on your camera settings, some are in arw, which may not be compatible.

Let's assume your pictures are in the right format. You're using Photobucket, I take it, and have first created an account.

Hit the upload button and you're prompted to look for your pic. To make things easier, I often drag and drop the photo to the desktop beforehand and rename it to make location easier.
Once you've found it, double-click and it uploads automatically. When your upload is complete the picture will appear.
Click on the picture and a number of options appear in a box on the right of the screen. Click once on the IMG option and it's automatically copied to your clipboard.

Now all you need to do is right-click and select paste to insert the URL that you've just copied into the space you've allocated for it in the main body of your post.

Now when you submit the post your pic should appear in the right place as if by magic!

This is as simple as I can make it, old bean; good luck :)


flightliner

Well-known member
Joined
Dec 2, 2009
Messages
7,594
Reaction score
2,761
Location
south yorkshire
Thanks Rob--- will give it another go.:wh
got to the upload foto successfully, double clicking only makes it bigger??? And there are no options to click on?:confused:
 
Last edited:

robtherake

Well-known member
Joined
May 20, 2013
Messages
3,252
Reaction score
3
Location
North Yorkshire
OK. Not sure why it isn't working for you, but try it this way. Please don't be offended if I'm over-simplifying - I'm not sure how much you understand and it's easy to blithely trot out instructions assuming you already know all the basics.

Before starting with Photobucket, minimise your browser so you can see the desktop and go to the folder containing your picture file. What do you see? A thumbnail, or collection of thumbnails (small versions of your photos) is usual. Don't try to open the picture to view it at this point. Instead, drag and drop (you can do this?) the thumbnail to the RHS of your desktop and leave it there.

So far, so good? Now open your usual browser and go to the Photobucket main page. Look in the extreme top right corner of the browser window. There are 3 buttons. The red button with a cross closes the browser, as I'm sure you know(!) The button with a dash on it minimises the browser. The one in the centre of those two - it looks like two squares, one superimposed on the other - is the one you want to click on. It reduces the size of the browser window and by clicking on it you should now be able to see the thumbnail that you placed at the right of the screen. OK thus far?

Now go to the Photobucket website

You should see a black toolbar across the top of the screen. On the left there are 6 buttons, one with a camera symbol and 5 others to the right of it.

By clicking on the one marked "UPLOAD", you will open the upload screen and should see a rectangle bordered by a dotted line. The text inside says "Drag n drop photos, videos and folders here"

The next bit is easy. Drag your photo file from its position at the right of the screen and drop it inside the rectangle. What should happen now is that the upload process begins automatically. When it completes, a message appears above the rectangle, saying "1 of 1 photos successfully uploaded to Your Bucket" and the photo itself will appear below the rectangle. There is a box just beneath the photo that you can use to add a caption, but ignore that for the time being.

Now, a single click on the photo makes the photo reappear in a different window with slide-show style arrows to either side of the picture. Look to the top right, and underneath the orange "CART" button you will see the words "SHARE LINKS" in bold black. Beneath this are four letterboxes, labelled (from top to bottom)

Email & IM

Direct

HTML

IMG

The IMG box is the one you're looking for. Click once on the writing in the box. It will change colour to yellow, and the word "copied" will flash up briefly.

That's it for Photobucket. I assume you already have the FM forum page open to your post in a separate tab, waiting for you to insert the photo. If not, open a new tab, go to FM and write the text for your post.

Right-click on your post in the area you want the photo to appear. Select paste, and several lines of gobbledegook, prefixed with "URL", will appear in the area you chose.

That's it! You're almost done - all you need to do now is click on the "Submit reply" button and with luck, your post will be published, complete with photo.

Come on, bud, you can do it! I can't wait to see that Boris you're so worked up about :D
 
Last edited:

nicepix

Well-known member
Joined
Apr 14, 2012
Messages
5,063
Reaction score
7
Location
Charente, France
Flight' from what I understand you are saying that the photo is too big for the web page?

Simple answer is to reduce the image size your camera is taking to 0.3Mp. This will be an image that fits nicely onto the web pages and does not need to be subsequently re-sized in any way.

Unless you intend to print some of your photos just leave the camera on the 0.3Mp setting.

Simples :)
 

flightliner

Well-known member
Joined
Dec 2, 2009
Messages
7,594
Reaction score
2,761
Location
south yorkshire
Rob, thats a lot of info to absorb and I thank you for the time and effort you've just put in on my behalf--- sincerely! ---- I, m going to need time--- time to download/print it off and go thro it very slowly step by step.
I, ll try my best--- honest--
Flight--.

Same goes to you too Binka.
 
Last edited:

robtherake

Well-known member
Joined
May 20, 2013
Messages
3,252
Reaction score
3
Location
North Yorkshire
Yes, I was going to suggest that you print it off for reference. Although it sounds long-winded it's actually a very quick process. Most of my description's taken up with what you will see - the actual doing bits are minimal. Fingers crossed :)

EDIT - If you lived a bit closer, I'd have popped round and shown you!


This might help a bit - a video tutorial from Youtube: https://www.youtube.com/watch?v=9mM6DDv92OI
 
Last edited:
Top