| Kit Stokes recently e-mailed the Tackle Workshop asking how to make a bobbin or Carp hanger-type indicator. This is a very simple project, but as always the way you approach it will depend on what materials you have available. With that in mind I will give you a couple of alternatives.
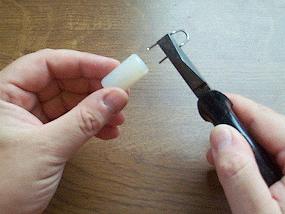
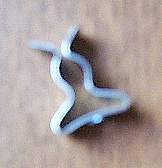
1.Take your old monkey body and with a set of pliers remove the wire frame. 2.Thread the nylon/cord through the centre hole in the monkey body and pull it through. On most monkey bodies the stem of the line clip will fit snugly in place. If this is not the case enlarge the hole or glue in place with Araldite. 3. Trim the nylon/cord to the required length.
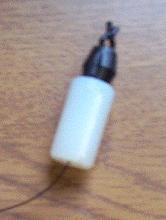
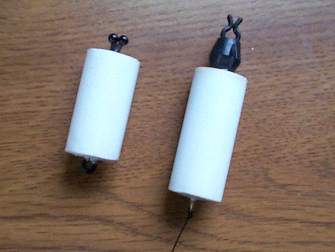
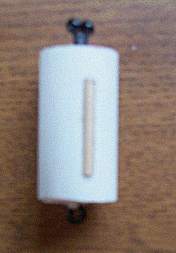
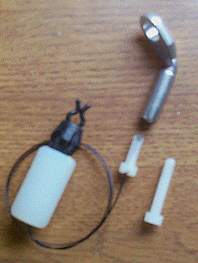
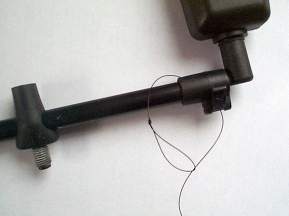
Method 2 1.Conduit often has printing on the outside. Remove this by rubbing gently with a scouring pad or similar. 2.Cut the conduit to the required length. 3.Cut the balsa wood to the same length and insert into the conduit you’ve cut. 4.You can now either drill a hole through the balsa and finish off as in Method 1 or if on a budget you can carry on as follows. 5.Insert two map pins as shown in to the top of the hanger to act as a line clip. (I like to put a small piece of rubber tube at the base of the pins). 6.Take a large hook and cut off the bend. Insert the resulting eye into the base of the body, this will supply the anchor point for your nylon/cord. 7.Attach suitable length of nylon/cord. 8.Paint the exposed balsa top and bottom with a white paint. 9.As added security it is a good idea to apply a small amount of glue to the cut down hook before pushing it into the balsa wood. With both methods the following ways of attaching the hanger to the buzzer bar/rod rest can be used. 1.Attach a suitable-sized Terry clip, which will fit on to your buzzer bar/rod rest to the end of the nylon/cord. 2.From an electrical components shop purchase a nylon bolt that will fit into a Solar tackle ‘Hockey Stick’. Drill a hole in the head and tie the cord/nylon to it. 3.Obtain a sheet of perspex and cut out a rectangle approx. 1in x 2in. Drill a suitable sized hole for your alarms screw thread to fit through at one end, and a small hole to take the hanger cord at the other. Tie the cord to the small hole and mount the perspex bracket ‘Fox style’ between alarm and rod rest/buzzer bar. 4.By far the simplest way of all is to just tie an overhand loop knot in the end of the cord and attach as shown. Well there you go. Nothing hard there eh? The weight of both types of hanger can be adjusted by adding split shot to the retaining cord. The advantage of making your own is that you can make your hangers any size you want. Remember though that the hanger must be heavy enough to show drop-back bites positively. The range you intend to fish will determine the weight. Send your tackle-making and repair advice requests to Tackle Workshop. And if you have a good tip for making tackle we’ll be very pleased to hear about that too. Send them to graham@fishingmagic.com |
Welcome!Log into your account


