|
John Huntley is having problems with his multi-tip quiver rod.Unfortunately the female ferrule that the inter-changeable tips pushinto has split. He has tried cutting the ferrule back but itcontinues to split. The reason for this is that in most blanks thefibres that are used to make them run parallel. This means they havea very low tolerance to linear stress.
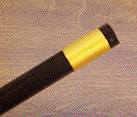
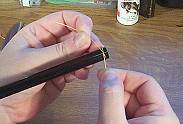
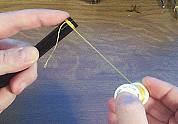
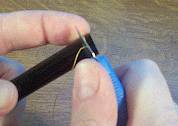
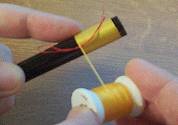
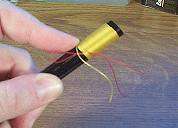
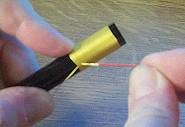
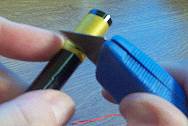
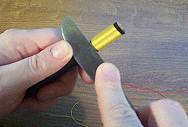
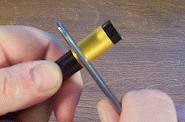
You must always add a reinforcing whipping to any areas that areunder stress, spigots and female ferrule joints being the mostobvious. I wouldn’t cut the blank back any more John as the quivertips may no longer fit. In this situation, be it the female section on a rod or a pole, Ihave found the best method is to slightly open up the crack anddrizzle some super glue into it. I use superglue as opposed to aresin type glue to avoid getting any build up of glue on the insideof the blank. This would obviously interfere with the male sectionfitting. If the split naturally closes then fine, if not, bind thearea with tape whilst the glue is drying. When dry I give the area a quick sanding with glass paper toremove any excess. Check that there is no build up of glue on theinside. If there is, remove it by wrapping some glass paper around adowel of suitable diameter and sanding. The glue has merely closedthe split and what we must now do is reinforce the area with awhipping to stop it splitting again. The whipping should be at least as long as the male insert. Asthis is quite a quick repair I will take this opportunity to show youhow to do a whipping. This is an essential skill in all rod repairsand building. The easiest way will be to show you with a series ofphotos.
And that’s it, you have the perfect whipping. A little fiddly atfirst, but as they say, practice makes perfect. Incidentally, this isthe same technique used to whip on rod rings. Just remember to alwayswhip up the ring foot as opposed to down it. Now we need to seal or varnish the threads to make them last. Inormally use a two-part epoxy coating or Hi- Build, as they areknown, but for this job I want as much strength as possible so willuse Araldite adhesive. Make sure you use the Standard, as the Rapidwill not dry clear. Mix up the Araldite as per instructions, warm thewhipping with a hair dryer, and apply the Araldite with either astiff brush or a spatula. The warm air from the dryer will help theAraldite flow evenly. Keep rotating the blank to avoid runs, applyingheat for half an hour. Leave to fully harden in a safe, dust freearea, overnight. So there you go; as good as new. Remember you can also use thismethod on split female pole joints as well. Much cheaper than a newpole section or a new rod! Send your tackle making requests and repair advice to Tackle Workshop. And if you have a good tip for making tackle we’ll be very pleased to hear about that too. Send them to graham@fishingmagic.com |
Welcome!Log into your account


