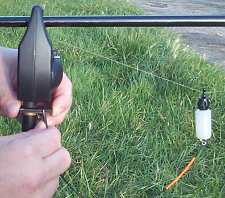
Saul from the USA recently contacted Tackle Workshop asking how to make a carp “Springer” type indicator. The Springer is a fairly recent arrival on the carp indicator scene. It is best used to show drop-back bites, especially at range. 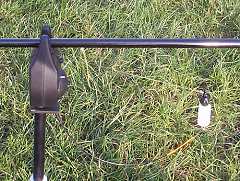
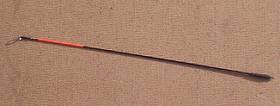
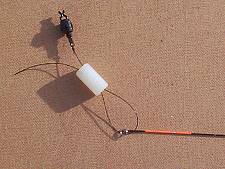
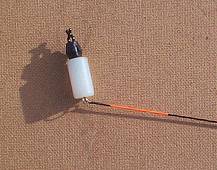
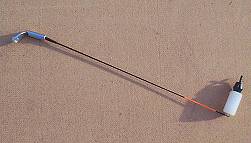
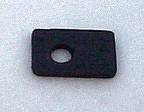
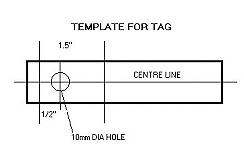
This is a simple project and it uses some of the DIY components that we have already shown on previous projects. The main components required you may already have but if not they are easily found in your local tackle shop. As I always say, be careful if you have to buy too many of the bits as this can push the cost up over the cost of a ready made one! The easiest way to make the arm of the springer is to take an old screw-in type quiver tip. Unless you are using the quiver tip (which will already have one) you will need to attach an eye onto the end of the arm. The wire quivertip-type eyes are ideal, but if you wish to save money you can use the cut-off eye of a safety pin. To make the bobbin to fit on the end of the arm simply refer back to the ‘Hanger’ indicator in a previous Tackle Workshop. This makes an ideal head. It is however best to use the adjustable line clip in this situation. The easiest way to assemble is to first tie a length of line (I like 40lb Amnesia) to the line clip and thread it through the hanger. Next take a split ring and clip it onto the eye of the quivertip/arm. Thread the line through the split ring and back through the hanger, as shown in the photograph. Pull everything tight and insert the clip into the hanger. Cut off any spare line. To attach the swinger arm to the buzzer bar/rod rest you can use either the perspex tab or the hockey sticks as shown in the Hanger article. Even cheaper is the tab; this is best made as follows. Take a 1in wide strip of perspex or metal of around ¼in thick and mark it out as shown. Drill out a 10mm hole, cut off the waste and round off the corners. Paint if required.
So there you have it. Even if you have to buy some of the materials it will still cost a lot less than in the shops and will be fun to make. As you will now have started to notice I use the same types of material for many of the projects.
Before starting on a project always look around to see what you already have, as many different things can be used to achieve the same result. This is how you will really save the pennies!
Send your tackle making requests and repair advice to Tackle Workshop. And if you have a good tip for making tackle we’ll be very pleased to hear about that too. Send them to graham@fishingmagic.com |
Welcome!Log into your account


